Water leaks rarely announce themselves with a dramatic gush of water. Instead, they creep along quietly: a pinhole in a copper pipe behind a wall, a slow slab leak under your Richardson home, a hairline crack in a pool line. By the time you see a spike in your water bill or notice a damp…
The post Professional Leak Detection Saves You Money first appeared on Casto Leak Detection.
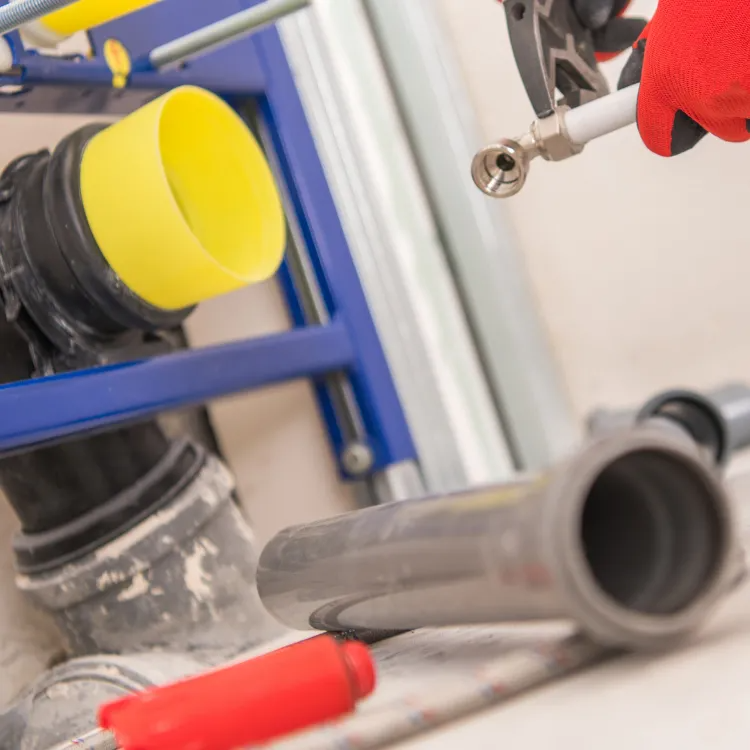
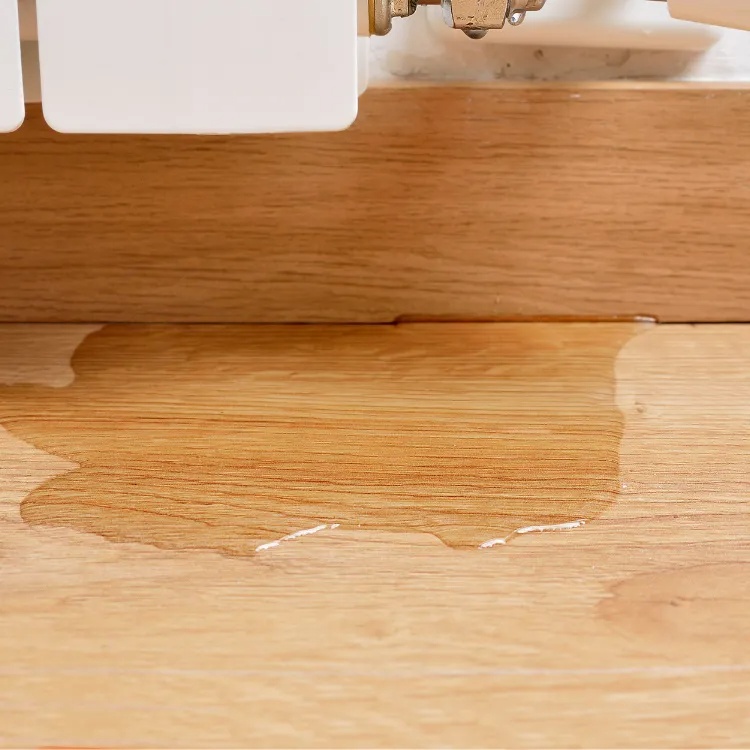
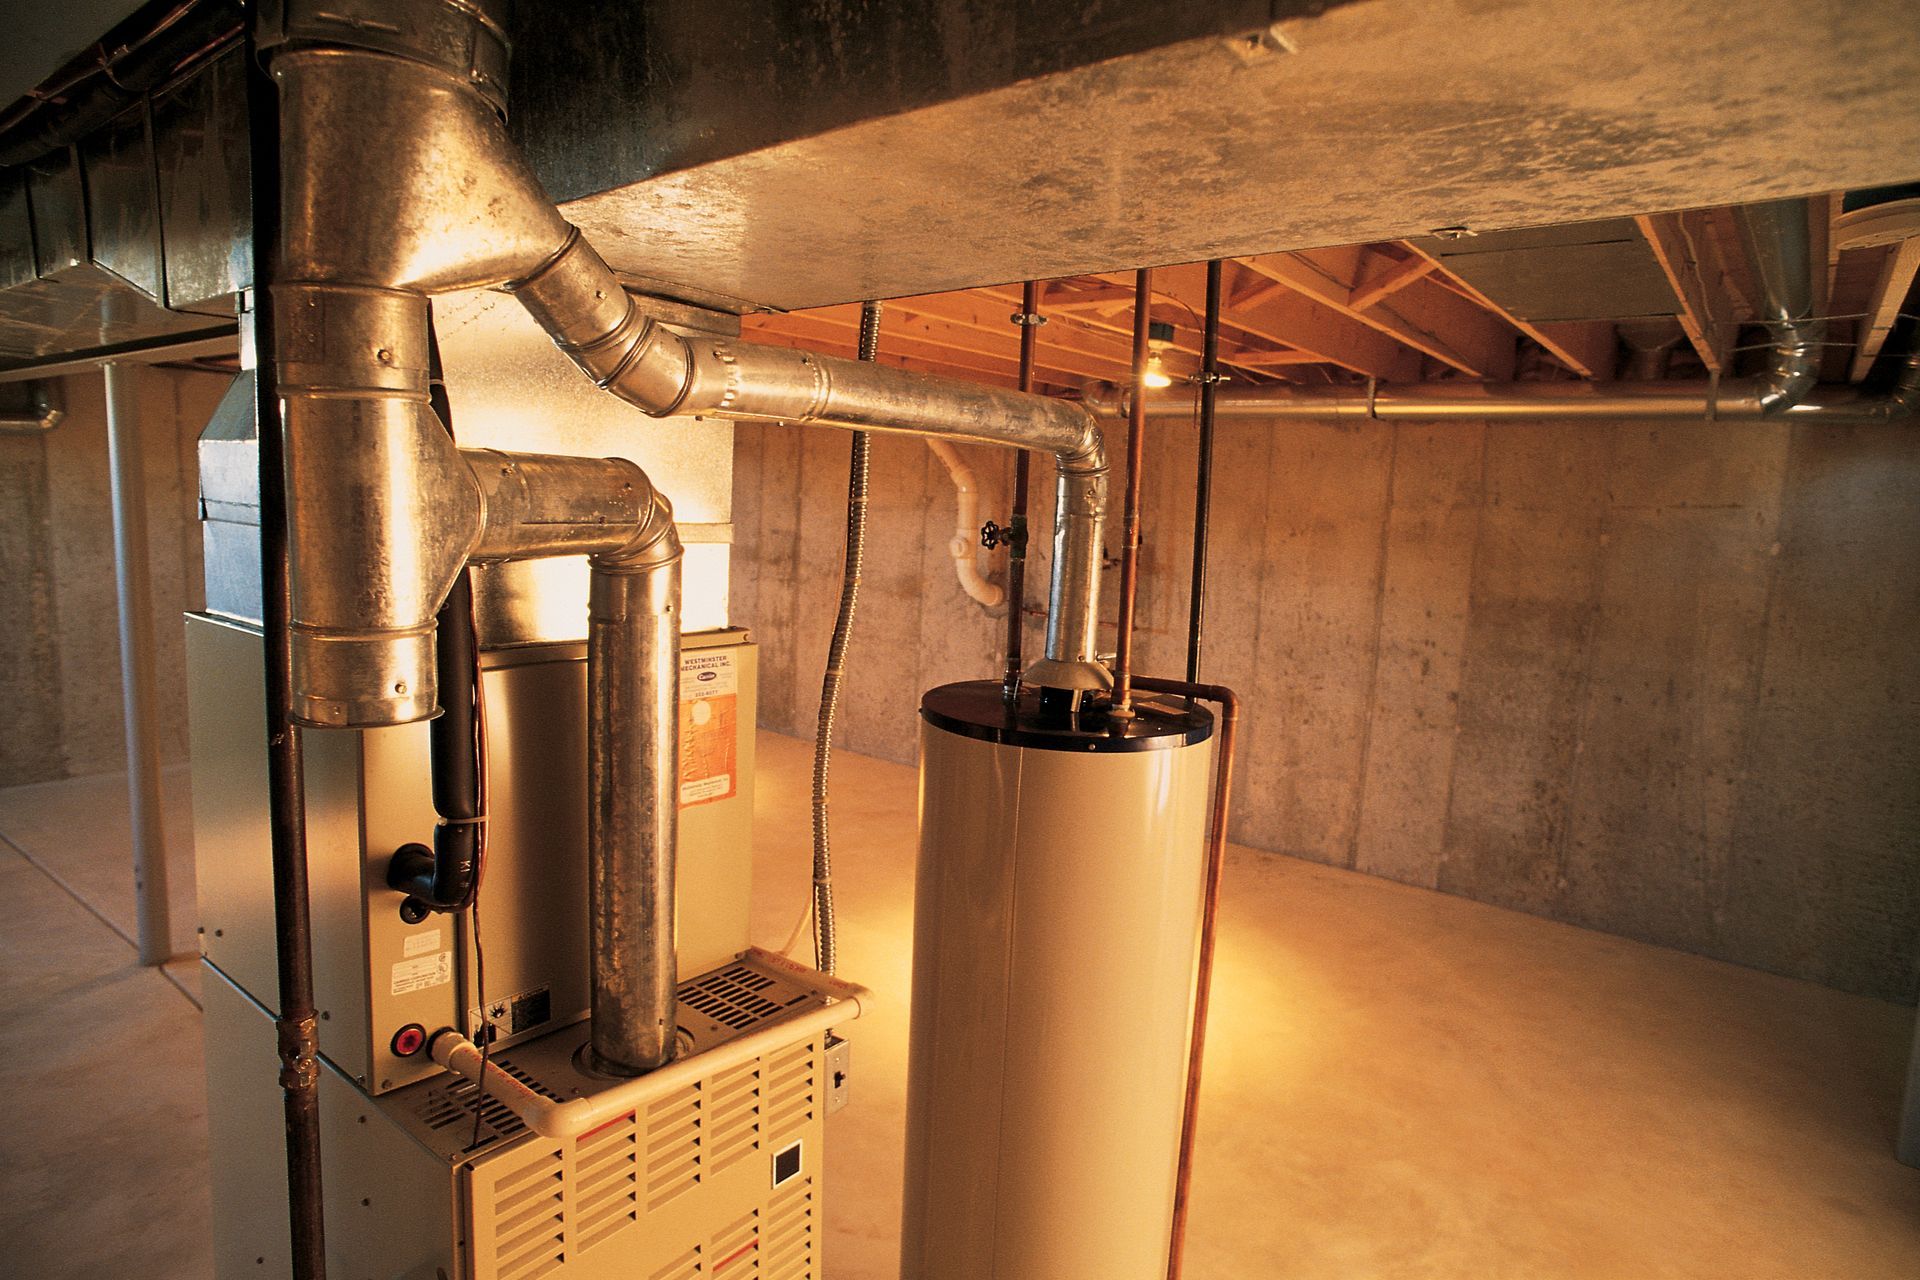
The first sign was a lukewarm shower on a chilly North Texas morning. Then came the rattling noises from the garage, followed by a faint metallic smell. By the time the homeowner in Richardson, TX, walked out to investigate, there was a small puddle creeping across the floor from the base of the water heater.…
The post Water Heater Installation: Key Considerations Unveiled first appeared on Casto Leak Detection.
The first sign is rarely dramatic. Maybe you notice a warm spot on the living room floor in the middle of summer. Or the water bill in your Richardson, TX home jumps for no obvious reason. Some homeowners hear the faint hiss of water under concrete, others see hairline cracks creeping across tiles. In each…
The post Mastering Slab Leak Repair Techniques Today first appeared on Casto Leak Detection.
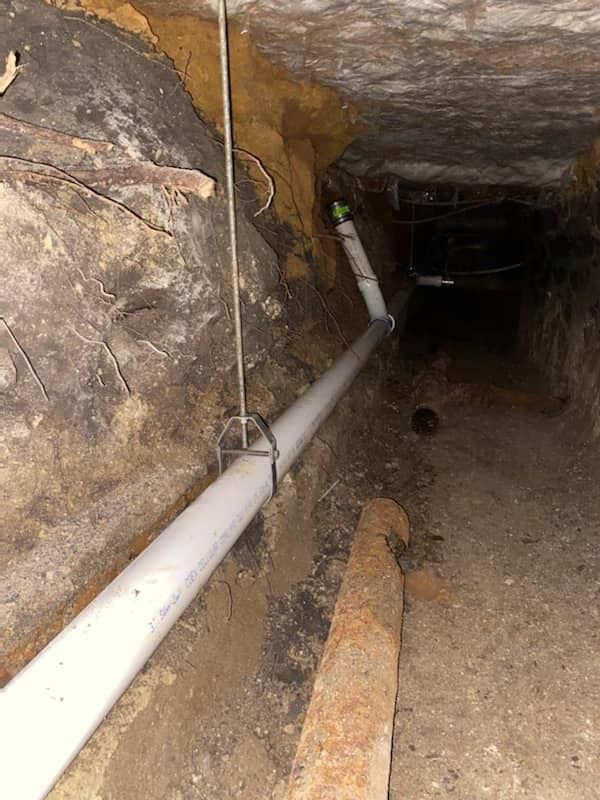
How much water could be silently escaping from your pipes right now without you seeing a single drop? Hidden leaks rarely announce themselves with dramatic floods; instead, they creep along behind walls, under slabs, and beneath foundations, slowly damaging structures and driving water bills higher. This is where professional plumbers step into a critical role:…
The post The Role of Plumbers in Leak Detection first appeared on Casto Leak Detection.
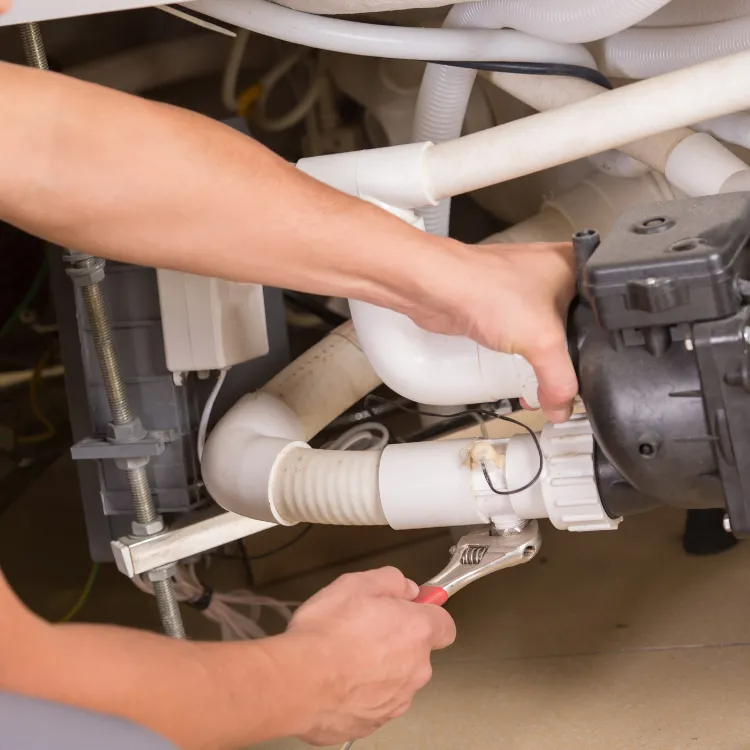
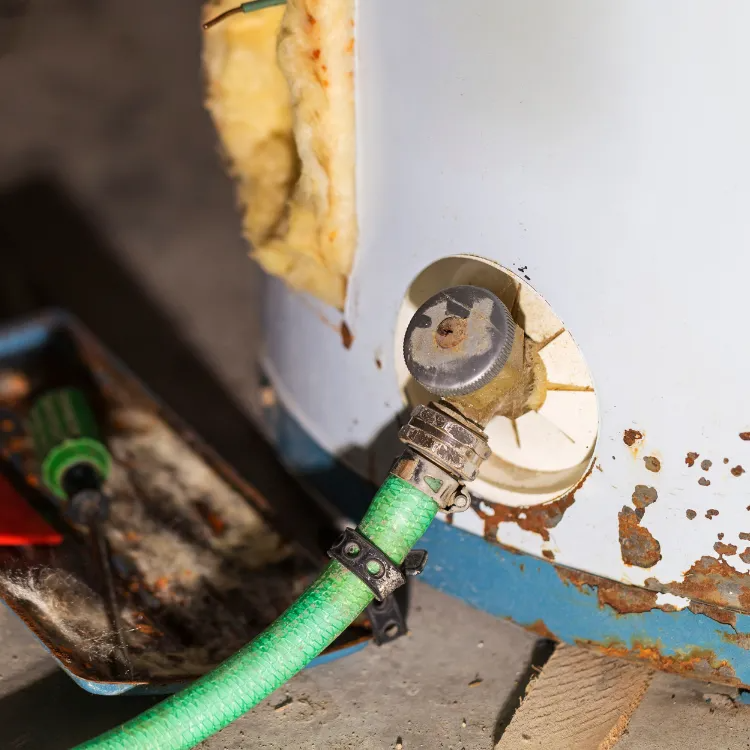
Few things disrupt a normal day in your home like stepping into a cold shower or discovering a puddle of water around your water heater. When that happens, the first instinct is often to fiddle with the thermostat, relight the pilot, or search for a DIY video. But water heaters are pressurized, gas- or electrically-powered…
The post Water Heater Repair: When to Call a Pro first appeared on Casto Leak Detection.

Studies show that nearly 10% of homes in the United States have leaks that waste at least 90 gallons of water every single day. That’s not just a higher water bill—it’s moisture creeping into walls, undermining foundations, and quietly damaging flooring long before anyone notices a visible problem. In a place like Richardson, TX, where…
The post Ensure Your Home with Expert Leak Detection first appeared on Casto Leak Detection.
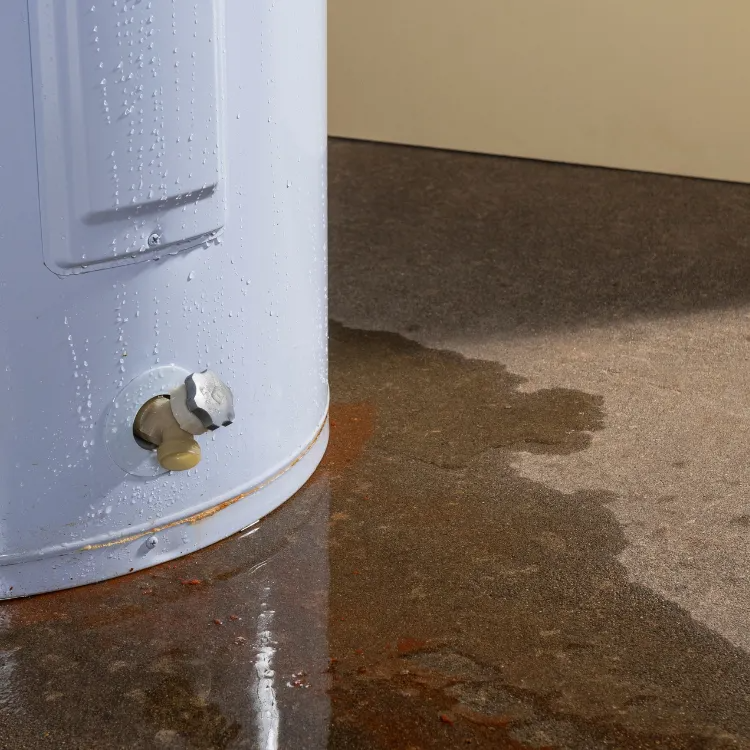
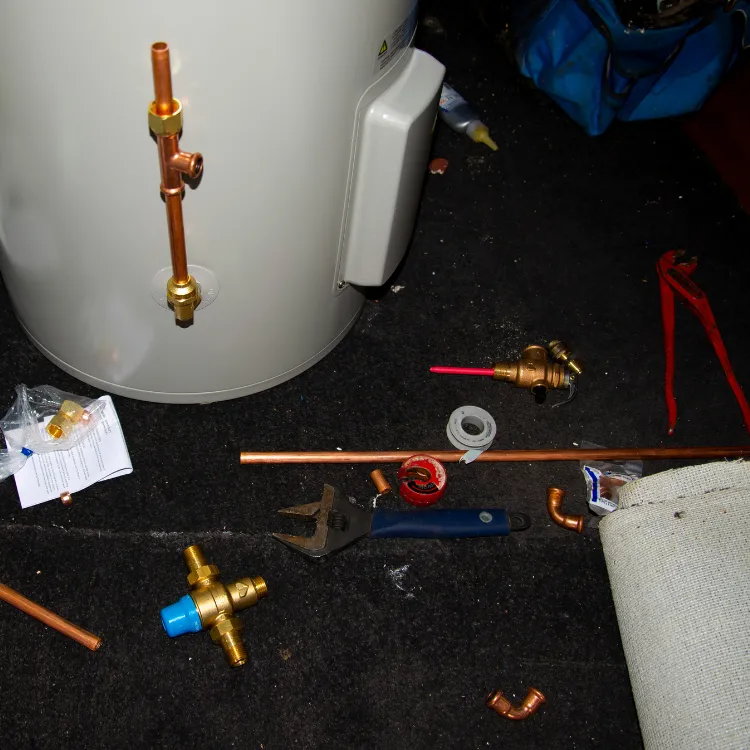
The moment usually arrives at the worst possible time: you turn on the shower on a chilly North Texas morning, expecting that familiar rush of hot water, and instead you’re greeted with an icy blast. Maybe your old water heater finally gave out, or the tank has started leaking onto your garage floor. Suddenly, you’re…
The post Choosing the Right Water Heater Installation Service first appeared on Casto Leak Detection.
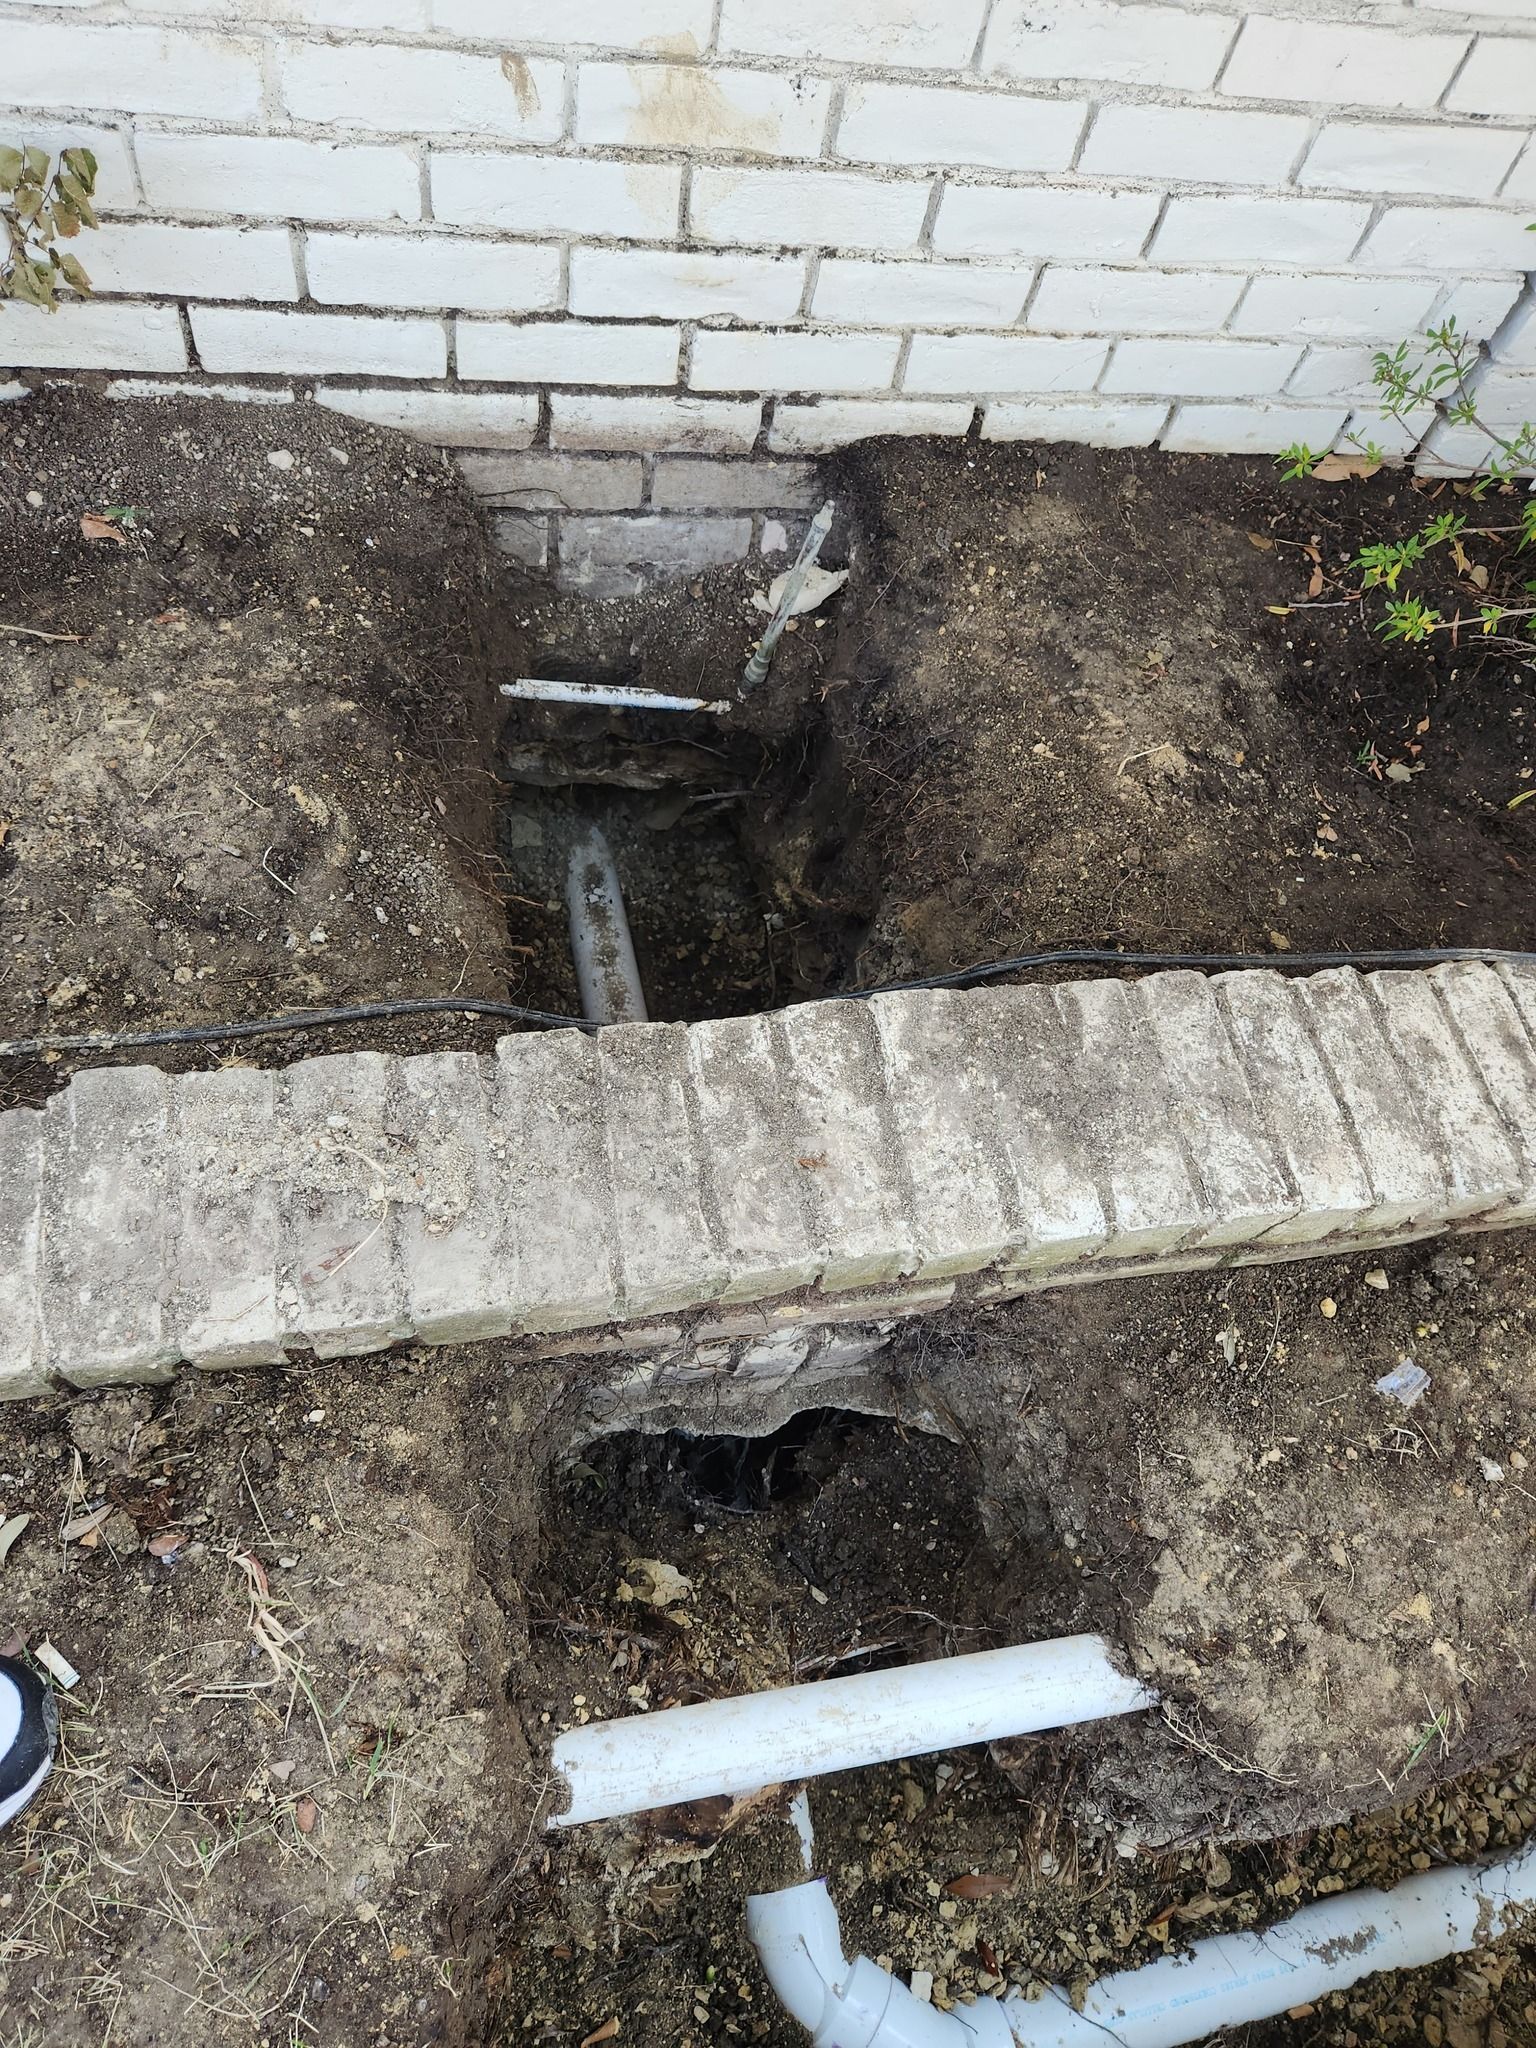
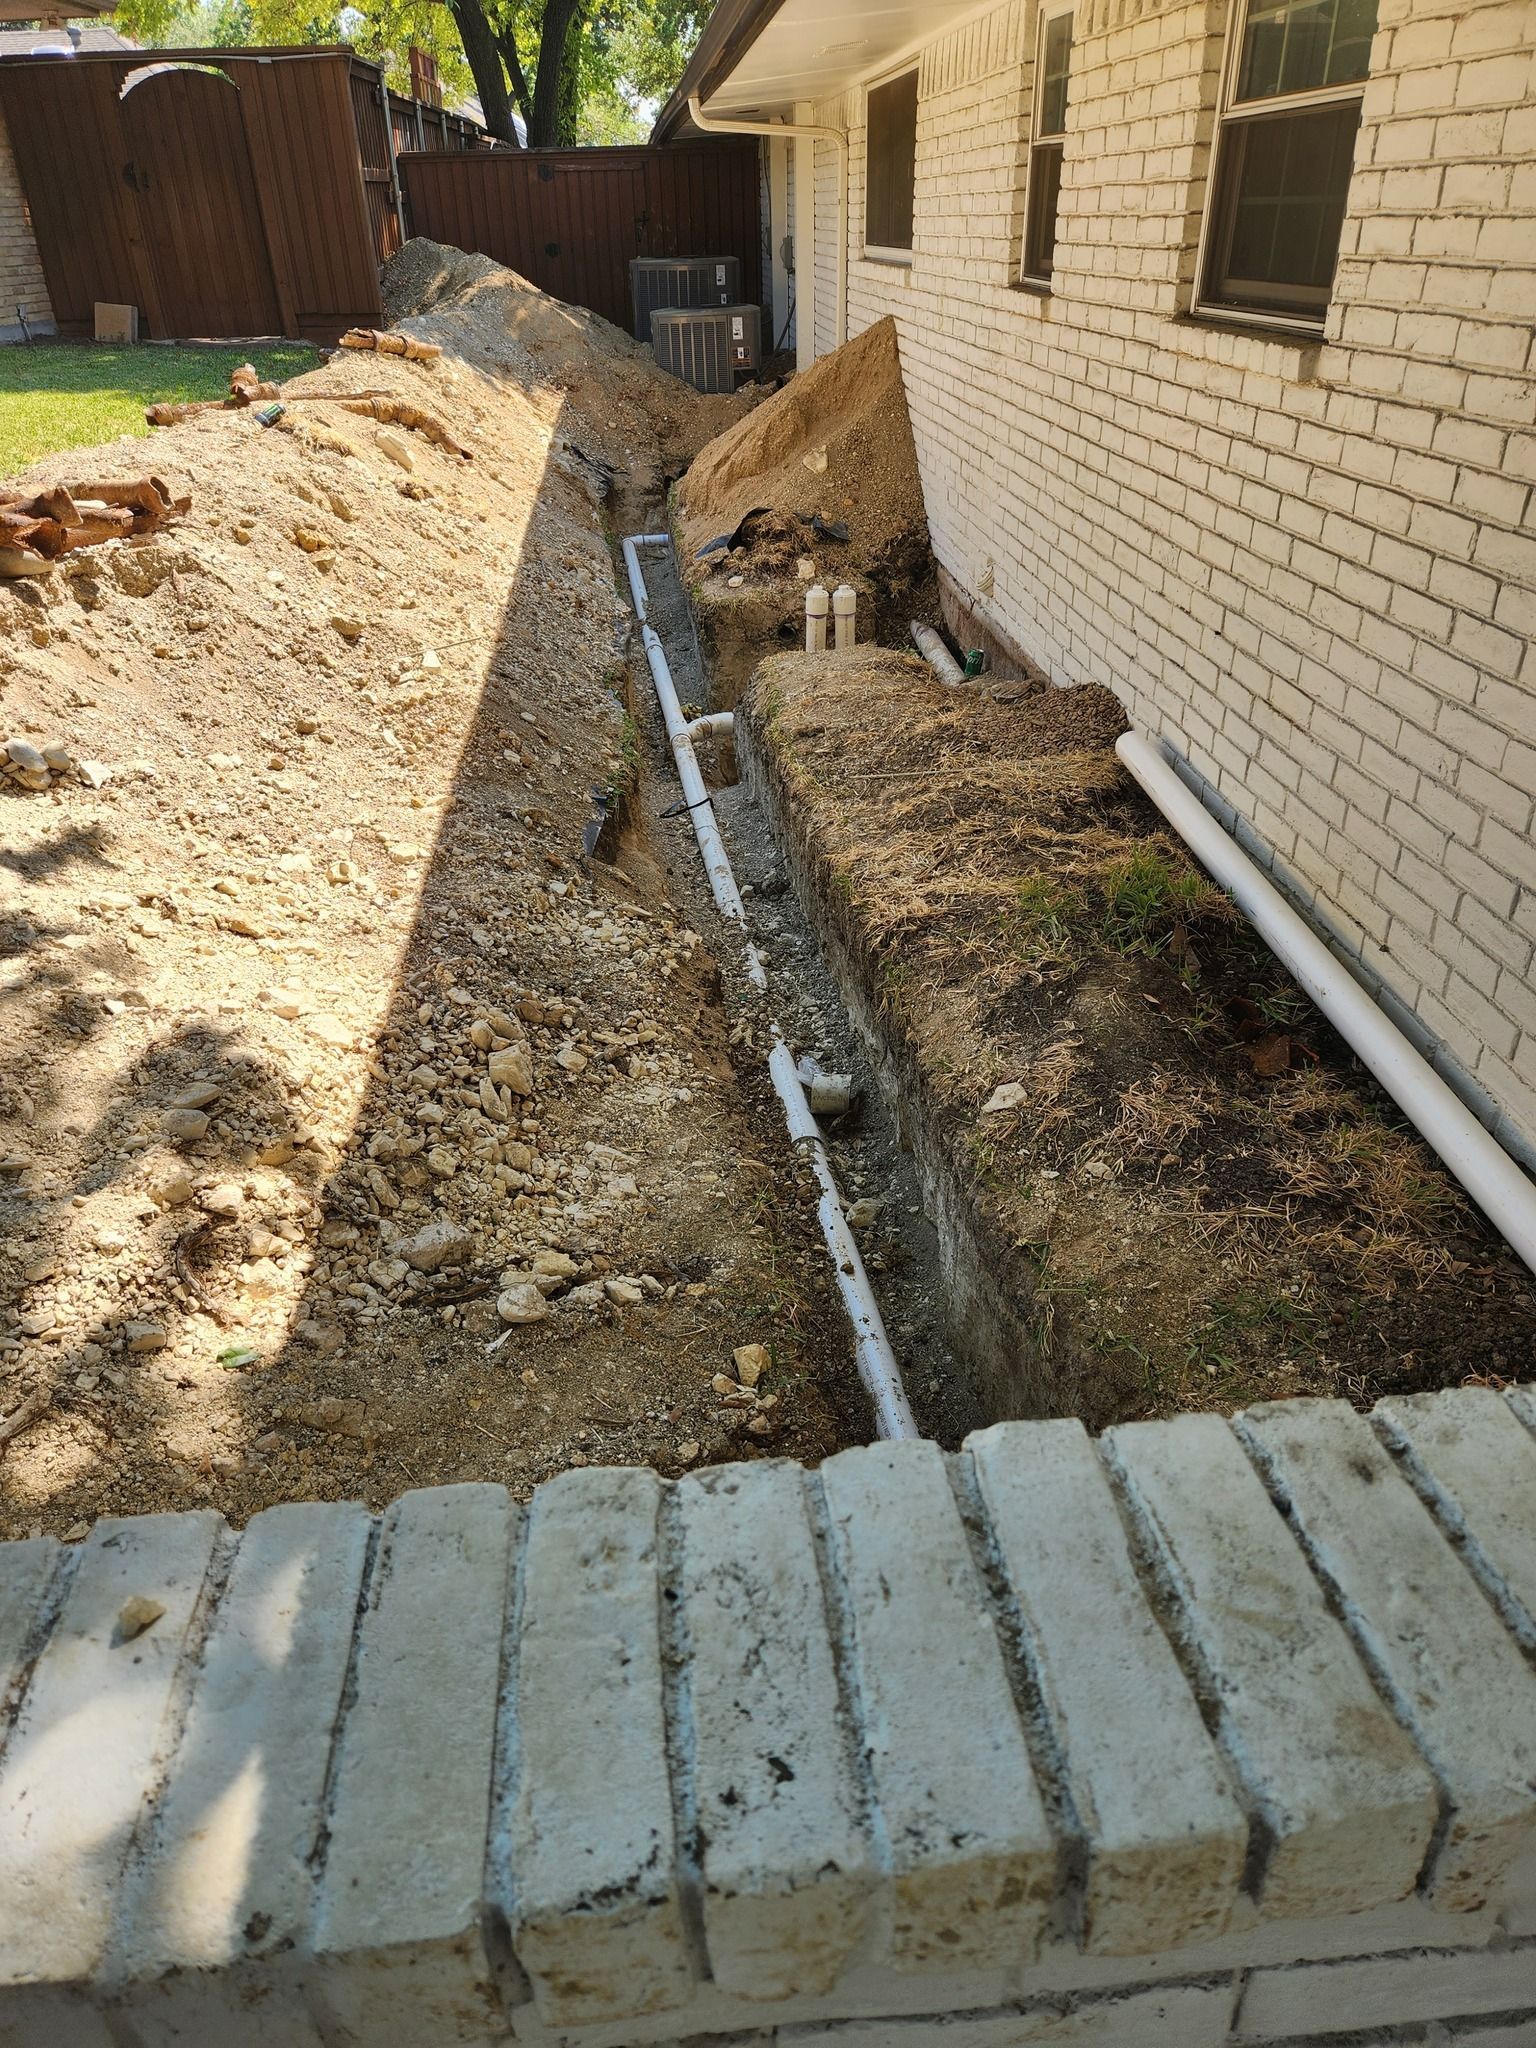
Water rarely announces its intentions. A tiny pinhole in a pipe beneath your home’s concrete slab can quietly waste hundreds of gallons, weaken your foundation, and inflate your water bill long before you see a single puddle. That is why understanding the benefits of timely slab leak repair is so important for homeowners right now.…
The post Slab Leak Repair Benefits for Homeowners first appeared on Casto Leak Detection.
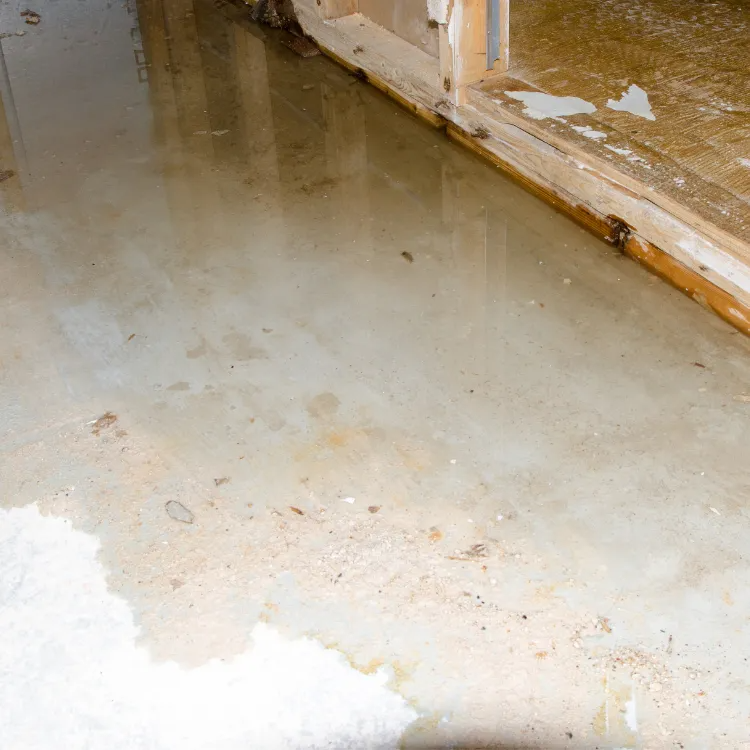
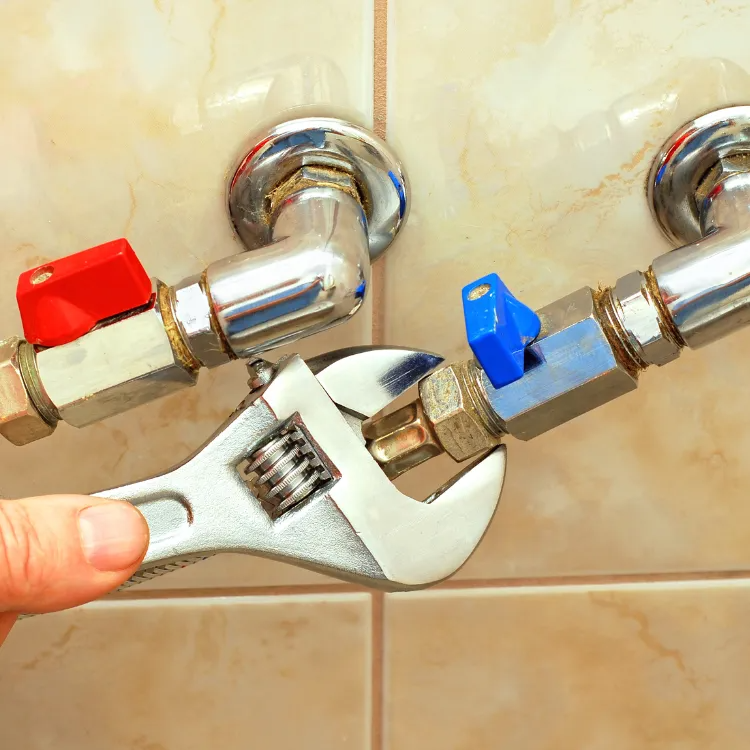
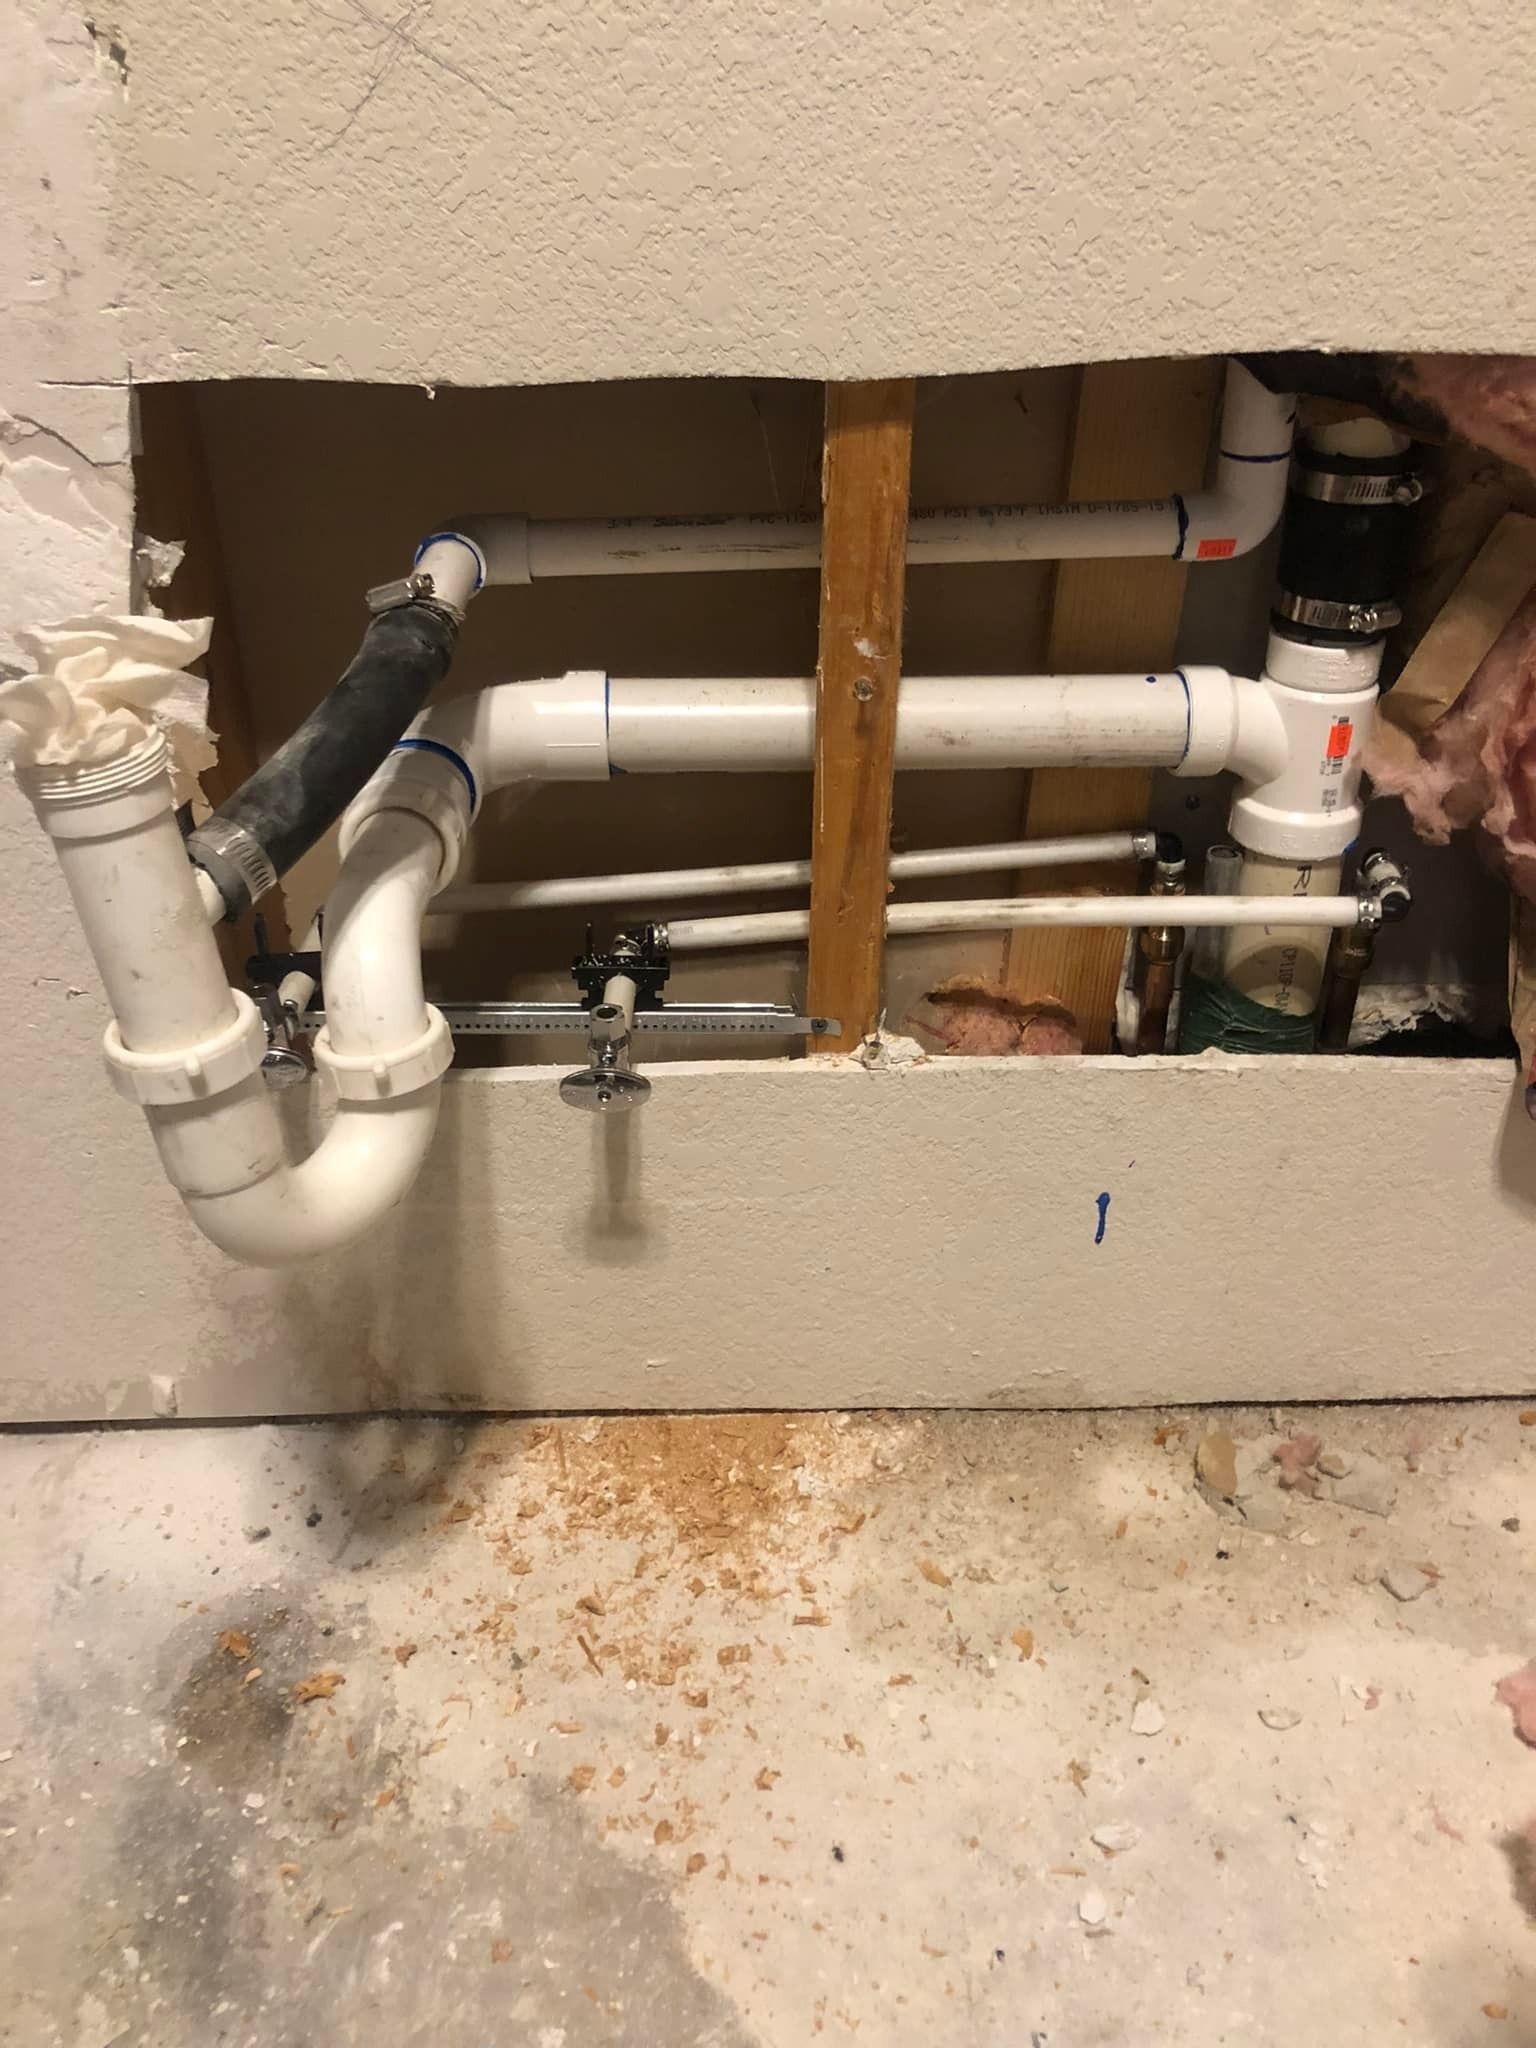
Most homeowners assume that if they had a serious plumbing leak, they would see water everywhere: soaked carpets, dripping ceilings, or a flooded bathroom. In reality, the most damaging leaks are often the ones you never see. They hide behind walls, under slabs, and beneath cabinets, slowly causing rot, mold, and structural damage long before…
The post How to Detect Hidden Plumbing Leaks Early first appeared on Casto Leak Detection.
How long did your last water heater work perfectly before it started making strange noises, taking forever to heat water, or suddenly leaking at the worst possible time? For most Richardson, TX homeowners, water heater problems seem to appear out of nowhere, usually right when you are counting on a hot shower or running a…
The post Common Water Heater Repair Issues and Solutions first appeared on Casto Leak Detection.


View more